Water heaters require regular sediment removal to maintain efficiency and performance. Prepare tools and workspace, drain the heater safely, inspect for buildup, use hot water and vinegar solution, flush and test water supply post-cleaning.
Unclogging your water heater’s sediment is an important maintenance step that can enhance its efficiency and longevity. Over time, mineral deposits accumulate at the bottom of the tank, reducing water heating performance and potentially causing damage. This guide walks you through the process of safely flushing out this buildup using common household items like water and vinegar. Learn how to effectively remove sediment from your heater, improve heating performance, and ensure consistent access to hot water.
- Understand Sediment Buildup in Water Heaters
- Gather Tools Necessary for Flush
- Turn Off and Drain Hot Water Heater
- Remove Access Panels and Inspect Tank
- Flush Heater with Water and Vinegar Solution
- Reconnect and Test for Sediment-Free Water
Understand Sediment Buildup in Water Heaters

Water heaters are prone to sediment buildup, a natural occurrence that can impact their efficiency and performance over time. Sediment refers to various particles like minerals, rust, and even small debris that accumulate at the bottom of your water heater tank. This buildup is primarily caused by the minerals present in tap water, which can dissolve and precipitate within the tank. As sediment gathers, it acts as a barrier between the heating elements and the water, reducing the heater’s ability to warm the water effectively.
Regular flushing is an effective strategy for preventing excessive sediment removal. By periodically draining and refilling the tank, you disrupt this buildup process and ensure optimal performance. Over time, however, even with regular flushing, sediments can accumulate enough to cause issues, leading to reduced hot water output or increased energy consumption as the heater works harder to heat the water through the sediment layer.
Gather Tools Necessary for Flush

Before you begin flushing your water heater, it’s crucial to gather the right tools for the job. For effective sediment removal, you’ll need a few essential items: a large bucket or container, a garden hose, and possibly a set of gloves to protect your hands. The bucket will catch any dislodged debris as you flush, while the hose allows you to direct water flow and reach all areas inside the tank. Gloves are important for handling any potentially sharp objects that may have accumulated in the sediment.
Make sure your work area is prepared by placing a tarp or drop cloth on the floor around the water heater. This will catch any leaks and make cleanup easier. Have everything within easy reach to ensure a smooth flushing process and minimize disruptions.
Turn Off and Drain Hot Water Heater

To begin the process of flush water heater for sediment removal, the first step is to turn off and drain the hot water heater. This ensures safety during the flushing process and prevents any potential damage to your heating system. Shut off the cold water supply valve located at the base of the tank to prevent any backflow of contaminated water into your pipes. Once the cold water valve is securely closed, open the hot water discharge valve or drain valve at the bottom of the heater. This will allow for the removal of the accumulated sediment and water from the tank. It’s a good practice to place a bucket or container underneath to catch the drained water, which may contain small debris and sediment.
Remove Access Panels and Inspect Tank

To begin the flush water heater for sediment removal process, the first step is to remove access panels. This provides direct access to the interior of the water heater tank. By carefully peeling back or unscrewing the panels, you’ll be able to visually inspect the tank for any signs of sediment buildup. Sediment removal is crucial in maintaining the efficiency and lifespan of your water heater.
Once the access panels are removed, take a moment to inspect the tank thoroughly. Look for any noticeable accumulation of sediment at the bottom or along the sides. This sediment can consist of mineral deposits, dirt, or even rust over time. Make note of areas with heavy buildup as these will require more attention during the flushing process. Regular inspection and timely flushing are key in preventing excessive sediment from disrupting the water heater’s optimal performance.
Flush Heater with Water and Vinegar Solution

Flush your water heater with a mixture of water and vinegar for an effective and natural sediment remover. Start by connecting a hose to your drain valve, allowing the excess water to flow out. Fill a bucket with equal parts hot water and white vinegar, creating a solution that will help break down and dissolve any built-up sediment. Pour this mixture into the heater tank, ensuring every corner is coated. Let it sit for about an hour, giving the vinegar time to work its magic. After an hour, turn on the drain valve and allow the mixture to flow out completely. This process should leave your water heater free of harmful sediment buildup, enhancing its efficiency and extending its lifespan.
Reconnect and Test for Sediment-Free Water
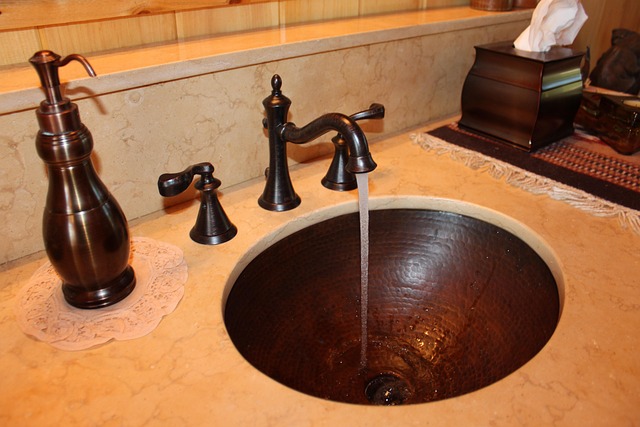
After flushing your water heater, it’s crucial to reconnect and test the water supply to ensure the removal of any remaining sediment. Begin by turning on each hot water faucet in your home one at a time, allowing the water to run for several minutes. This process helps clear out any loose debris that might have been dislodged during flushing. Observe if the water remains clear; any signs of murkiness or sediment indicate that further cleaning is required.
If the water appears sediment-free, you can proceed with confidence, knowing your system is now free from harmful buildup. This simple step ensures a consistent supply of clean, safe water and prevents future sediment accumulation.