When replacing asphalt shingles, start with a thorough roof inspection for damage. Plan, source high-quality shingles, and consult professionals. Install new shingles, conduct post-installation inspections, and schedule bi-annual maintenance checks. Maintain gutters to prevent water damage and ensure roof integrity.
Need a shingle replacement guide? This comprehensive step-by-step tutorial is your go-to resource. From assessing minor damage to preparing your roof for new asphalt shingles, we’ve got you covered. Learn how to install new shingles correctly and perform a final inspection to ensure top protection. Discover essential maintenance tips to keep your roof in top condition. Get ready to transform your home’s exterior with this expert advice tailored to asphalt shingle replacements.
- Assess Your Asphalt Shingle Damage
- Prepare for Shingle Replacement
- Install New Shingles Step-by-Step
- Final Inspection and Maintenance Tips
Assess Your Asphalt Shingle Damage

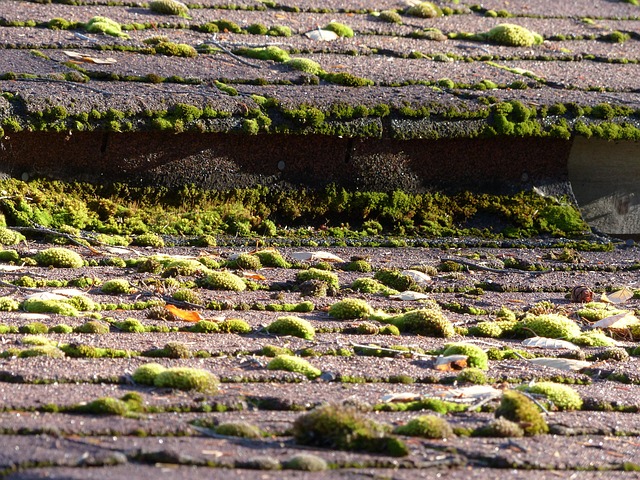
When considering asphalt shingle replacement, the first step is to assess the damage to your existing roof. Inspect your shingles for any missing, curled, or damaged sections. Look for signs of wear and tear, such as cracks or blisters, which can indicate a need for replacement. It’s also crucial to check for loose or missing shingles, especially after severe weather events, as these could compromise the integrity of your roofing system.
During your roof inspection, pay close attention to the roofing project timelines associated with replacing damaged asphalt shingles. Ensure that any repairs or replacements are done promptly to avoid further damage and maintain the durability of your roofing solution. Regular roof inspection and maintenance can help extend the life of your shingles and ensure a more seamless transition to a new roof when necessary.
Prepare for Shingle Replacement

Before beginning your shingle replacement project, thorough preparation is key to ensuring a smooth and successful outcome. Start by assessing your roof’s current condition, keeping an eye out for any signs of damage or wear, especially on older homes. This involves climbing up and inspecting every corner, as well as examining the structure’s overall stability. Once you’ve evaluated the state of your roof, create a detailed plan outlining the scope of work involved in the shingle replacement process.
Next, gather essential materials, focusing on high-quality asphalt shingles suitable for your region’s climate. Shingle color selection should align with your aesthetic preferences and home’s architectural style. To streamline the process, consider consulting with roofing professionals who can provide expert advice tailored to your specific needs. Additionally, have a clear understanding of your roofing project timelines, as this will help you coordinate with contractors and avoid potential delays due to unforeseen circumstances.
Install New Shingles Step-by-Step

Installing new asphalt shingles is a straightforward process that can transform your roof’s appearance and protect it from the elements. Here’s a step-by-step guide to ensure a successful shingle replacement:
1. Prepare Your Roof: Start by removing any existing shingles, underlayment, or debris. Inspect the roofing structure for damage, ensuring all components are in good condition. For a residential roof replacement, consider using a low-maintenance roof system, which offers durability and ease of upkeep. In commercial roofing options, different materials and techniques may apply depending on the scale and needs of the project.
Final Inspection and Maintenance Tips

Before finalizing your shingle replacement project, conduct a thorough final inspection to ensure every detail has been addressed. Walk the entire roof surface, checking for any loose or missing shingles, as well as signs of damage from wind, hail, or other elements. Verify that all fastening mechanisms are secure and in good working order, adhering to local roofing regulations. Inspect the underlayment for tears or punctures, and ensure proper ventilation at the roof’s peaks and valleys.
Regular maintenance plays a crucial role in extending the lifespan of your newly installed asphalt shingle roof. Set up a bi-annual inspection schedule to identify and address any potential issues early on. Keep records of all repair work and replacement parts used, which can be useful when obtaining shingle replacement quotes in the future. Regular cleaning of debris from gutters and downspouts is also essential, as clogging can lead to water damage and compromise the integrity of your roof.
Replacing your asphalt shingles is a significant home improvement project, but with proper preparation and a step-by-step approach, it can be successfully completed. From assessing damage to ensuring proper installation, this guide has equipped you with the knowledge to tackle your shingle replacement effectively. Remember, a well-maintained roof is essential for protecting your home from the elements, so keep these tips in mind throughout the process and enjoy a durable, reliable roof for years to come.
