
DIY clogged drains solved with hot water, plungers, baking soda/vinegar, and a drain brush that reaches tight spaces to dislodge hair, soap scum, mineral deposits. Regular maintenance using these methods prevents future clogs, saving money on costly plumbing services. Follow steps: remove P-traps, insert & rotate brush, clean in sections, flush with hot water, seal with tape.
Unclogging drains can be a common household hassle. Before calling a plumber, consider empowering yourself with a simple yet effective tool: a drain brush. This article guides you through the process of tackling DIY clogged drains using this versatile cleaning companion. From understanding the causes and exploring DIY solutions to navigating tight spaces and maintaining optimal drain health, we break down the steps for efficient pipe cleaning.
- Understanding Clogged Drains and DIY Solutions
- Gather Tools: The Essential Drain Brush
- Navigating Tight Spaces: Cleaning Hard-Reached Pipes
- Step-by-Step Guide to Effective Pipe Cleaning
- Maintenance Tips for Long-Term Drain Health
Understanding Clogged Drains and DIY Solutions

Clogged drains are a common household issue that can disrupt your daily routine and cause significant inconvenience. Understanding the root causes behind these blockages is the first step in finding effective solutions. Often, drain clogs result from accumulated grease, hair, food scraps, or other debris that build up over time, leading to reduced water flow.
DIY solutions for unclogging drains include using hot water and a plunger, as the force of the water can dislodge blockages, while the suction of the plunger helps break apart stubborn obstructions. Additionally, natural cleaners like baking soda and vinegar are popular choices due to their effectiveness and accessibility. Pouring a mixture of these substances down the drain can help dissolve and clear away accumulated gunk, leaving your pipes flowing smoothly once again.
Gather Tools: The Essential Drain Brush
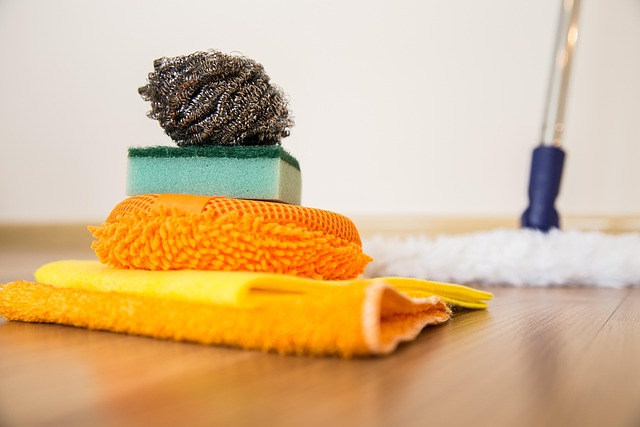
When tackling DIY clogged drains, having the right tools makes all the difference. Among these essential items is a drain brush—a versatile tool designed to tackle tough buildup and debris in your pipes. These brushes come in various shapes and sizes, but for most household drain cleaning needs, a standard spiral or straight brush attachment for your plumber’s snake or power drill is ideal.
The key benefit of using a drain brush lies in its ability to reach into tight spaces and loosen obstructions that might be blocking the flow of water. Whether you’re dealing with hair, soap scum, or other common drain offenders, the aggressive bristles of a drain brush effectively dislodge them, allowing for smoother drainage and preventing future clogs. Having one on hand is a smart move for any homeowner looking to save money and avoid costly plumbing services by mastering DIY clogged drains solutions.
Navigating Tight Spaces: Cleaning Hard-Reached Pipes
Navigating tight spaces can be a challenge when it comes to DIY clogged drains, but a drain brush offers a solution for cleaning hard-reached pipes. Its flexible design allows it to bend and twist into narrow openings, effectively removing stubborn buildup and debris. This is particularly useful for sinks, toilets, and other plumbing fixtures where traditional plungers or chemical cleaners might not penetrate deeply enough.
By utilizing a drain brush, you can reach areas that are often overlooked during routine maintenance, preventing clogs from forming in the first place. Its sturdy bristles scrub away mineral deposits, grease, and other obstructions, ensuring smooth water flow. This simple yet effective tool is an essential addition to any homeowner’s toolkit for tackling DIY clogged drains and maintaining a well-functioning plumbing system.
Step-by-Step Guide to Effective Pipe Cleaning
Cleaning pipes yourself with a drain brush can be an effective and cost-saving solution for DIY clogged drains. Here’s a step-by-step guide to ensure success:
1. Gather Your Tools: Start by gathering a drain brush suitable for the size of your pipe, some plumbing tape, and a camera (optional but helpful) to inspect any damage or blockages.
2. Prepare the Area: Remove any traps or P-traps from the drain to gain full access. Protect yourself with gloves and safety goggles to prevent debris from entering your eyes or skin.
3. Insert the Brush: Feed the brush into the pipe, ensuring it reaches all corners. Rotate the brush slowly at first to loosen any buildup. Increase speed gradually as you push further down the pipe.
4. Clean in Sections: Break the cleaning process into sections to avoid overwhelming the brush or pipe. Clean one section thoroughly before moving on to the next. Pay special attention to bends and curves where debris tends to accumulate.
5. Remove and Inspect: Once a section is clean, pull out the brush and use the camera (if available) to check for any remaining blockages. Repeat the process until all sections are free-flowing and clear of obstructions.
6. Flush and Seal: After cleaning, flush the drain with hot water to remove any lingering debris. Apply plumbing tape around the seal to prevent future clogs.
Maintenance Tips for Long-Term Drain Health
Regular maintenance is key to keeping your pipes healthy and preventing costly clogs. One simple yet effective tool for this is a drain brush. After clearing a clog with a combination of baking soda and vinegar, using a brush can help scrub away any remaining buildup or debris stuck in the pipes. This DIY approach to unclogging drains not only saves you money but also ensures long-term pipe health.
To maintain optimal drain performance, regularly inspect your pipes for signs of damage or wear. Be mindful of what goes down the drain—fat, oil, and grease can congeal and cause clogs. Additionally, avoid pouring chemical cleaners down the drain, as they can erode pipe materials over time. Instead, opt for natural remedies or enzymatic cleaners, which are gentler on your pipes.