Leaking outdoor faucets are a common issue during winter, causing water waste and potential plumbing damage. Regular maintenance, including checking for worn-out O-rings and washers, tightening connections, and applying winter protection like insulation and lubricants, is crucial to prevent leaks and preserve your outdoor plumbing infrastructure. This proactive approach saves money on water bills, avoids property damage, increases home value, and ensures faucets remain functional year-round.
Staying on top of outdoor faucet maintenance is essential for saving water and preventing costly repairs. In this article, we delve into the importance of regularly checking outdoor faucets for leaks, highlighting how even small drips can turn into big problems during colder months. We’ll guide you through identifying common leak sources, providing winter protection tips to prevent and fix these issues, and offering a step-by-step manual for maintaining your outdoor faucets. By following these practices, you can safeguard your plumbing system and enjoy a leak-free season.
- Why Check Outdoor Faucets for Leaks? (Importance of Regular Maintenance)
- Identifying Common Leak Sources in Outdoor Faucets
- Winter Protection Tips to Prevent and Fix Outdoor Faucet Leaks
- Step-by-Step Guide: How to Check and Maintain Your Outdoor Faucets
Why Check Outdoor Faucets for Leaks? (Importance of Regular Maintenance)
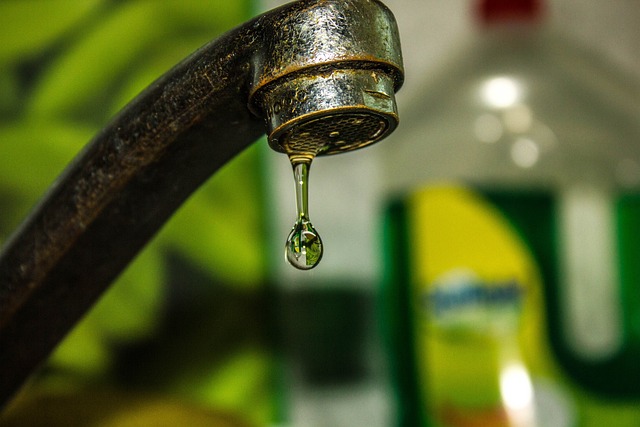
Leaking outdoor faucets can be more than just an inconvenience; they’re a sign of potential damage and waste. Regularly checking your outdoor faucets for leaks is crucial for several reasons, especially when preparing for winter protection. First, it helps to preserve your plumbing system, preventing frozen pipes during colder months. Second, it saves you money on water bills and avoids unnecessary wastage. By identifying and fixing leaks early, you protect your property from water damage and ensure the longevity of your outdoor faucet and surrounding infrastructure.
Moreover, maintaining your outdoor faucets is an essential part of overall home maintenance. It shows that you’re proactive about caring for your space, which can also increase the value of your property. Regular checks allow you to catch issues before they become bigger problems, requiring more extensive repairs or replacements down the line. Thus, it’s a simple yet effective step towards keeping your outdoor areas functional and efficient all year round.
Identifying Common Leak Sources in Outdoor Faucets
Leaks in outdoor faucets can be frustrating and wasteful, especially during the colder months when proper winter protection is crucial. Common sources of leaks often include worn-out O-rings or washers, which can be easily replaced. These components are typically located inside the faucet handle and are responsible for sealing the water flow. Over time, they can deteriorate or become damaged, allowing water to escape and leading to persistent drips or puddles around the base of the faucet.
Another frequent cause is a faulty supply line connection. The pipes that deliver water to the outdoor faucet can develop leaks at the points where they meet the faucet’s fittings. This may be due to corroded or damaged connections, especially in areas prone to freezing temperatures during winter protection measures. Inspecting these lines regularly and tightening connections as needed can prevent significant water waste and maintain the overall efficiency of your outdoor faucet system.
Winter Protection Tips to Prevent and Fix Outdoor Faucet Leaks
As winter approaches, outdoor faucet leaks can be a common concern for homeowners. To prevent and fix these issues, implementing effective winter protection measures is crucial. One of the primary steps is to insulate exposed pipes with materials like foam or heating tape to safeguard them from freezing temperatures. This simple action can avert bursts and subsequent leaks.
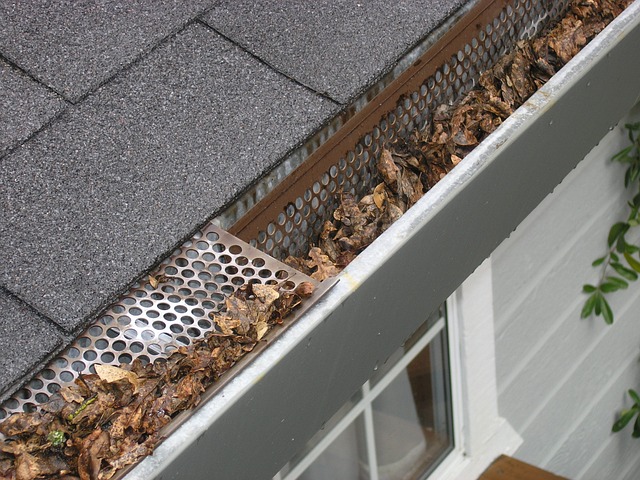
Additionally, regular maintenance is key. Before the first frost, check all outdoor faucets for any signs of damage or weakness. Replace worn-out parts, such as O-rings or washers, to ensure a secure fit. Consider using drain protectors to prevent debris buildup, which could lead to blocked drains and subsequent leak problems during warmer months. By taking these winter protection tips, you can keep your outdoor faucets in top condition and avoid costly repairs.
Step-by-Step Guide: How to Check and Maintain Your Outdoor Faucets
Checking and maintaining outdoor faucets is an easy task that can save you from potential water waste and costly repairs. Here’s a step-by-step guide to ensure your outdoor faucet remains in top condition, even through harsh winters.
1. Visual Inspection: Start by examining the faucet for any visible signs of damage or leaks. Check the spout, handles, and pipes for cracks, corrosion, or loose connections. Pay special attention to areas where water meets metal as these are common points of deterioration.
2. Turn Off the Water Supply: Before conducting any maintenance, it’s crucial to shut off the water supply to prevent unnecessary leaks. Locate your home’s main shut-off valve and turn it clockwise to disconnect the faucet from the water line. This step is vital for safety and to avoid flooding.
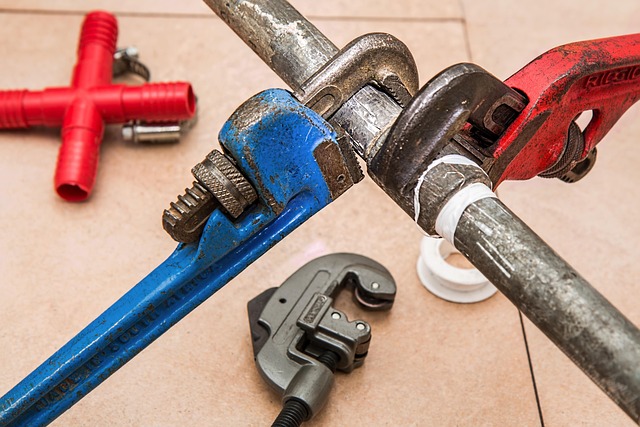
3. Disassemble the Faucet (if necessary): Depending on your faucet model, you might need to disassemble parts to check for leaks properly. Use a wrench or screwdriver to loosen and remove any accessible components. Check each piece for wear and tear, especially O-rings and washers, which are common sources of leaks.
4. Tighten Connections: If your inspection reveals loose connections, tighten them using the appropriate tools. Make sure all pipes, fittings, and valves are secure but not overly tight to prevent damage.
5. Apply Winter Protection: In colder climates, outdoor faucets require extra care during winter. Consider applying a water-based lubricant to moving parts and wrapping the faucet with insulation or a protective cover to guard against freezing temperatures. This simple step can prevent pipes from bursting due to extreme cold.
6. Reassemble and Test: After maintenance, carefully reassemble the faucet and turn on the water supply at the main shut-off valve. Check for any leaks and ensure all components are functioning correctly.